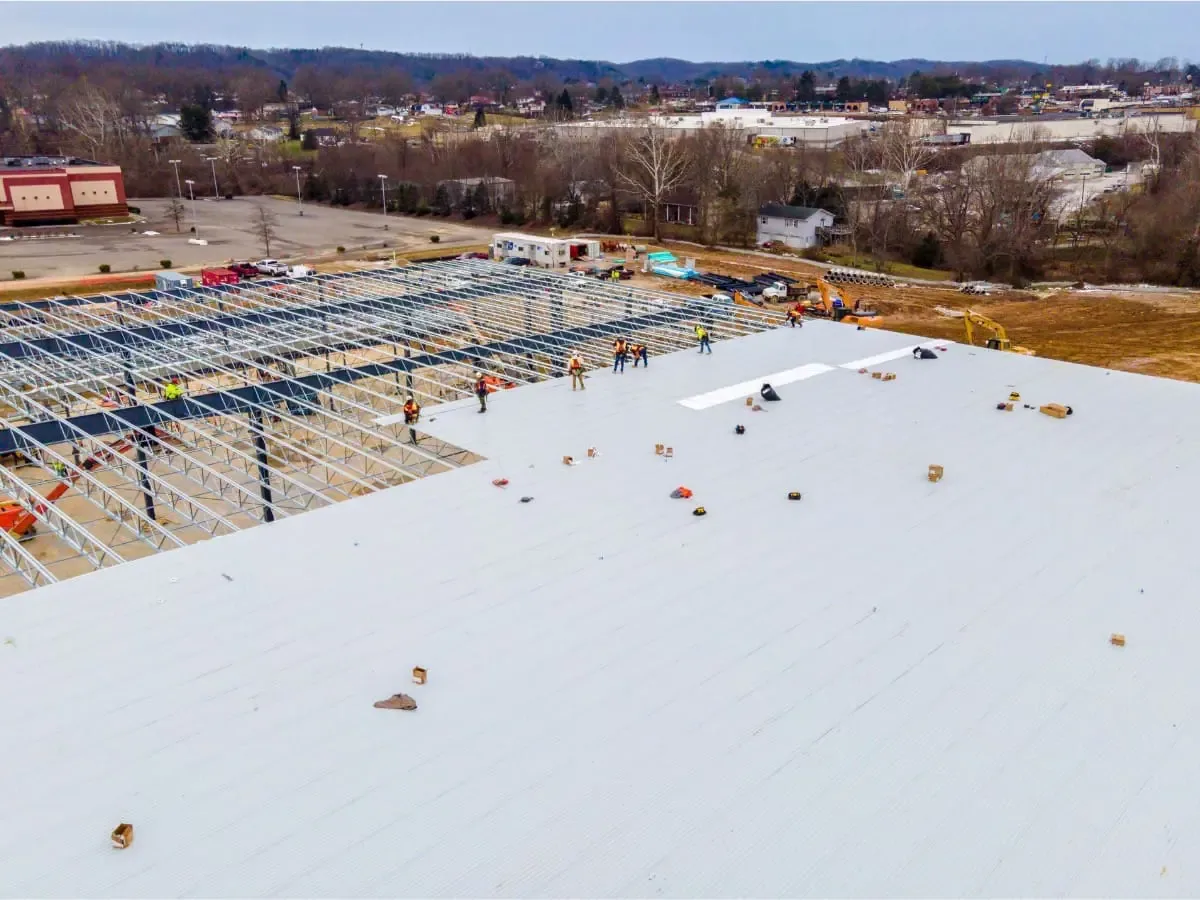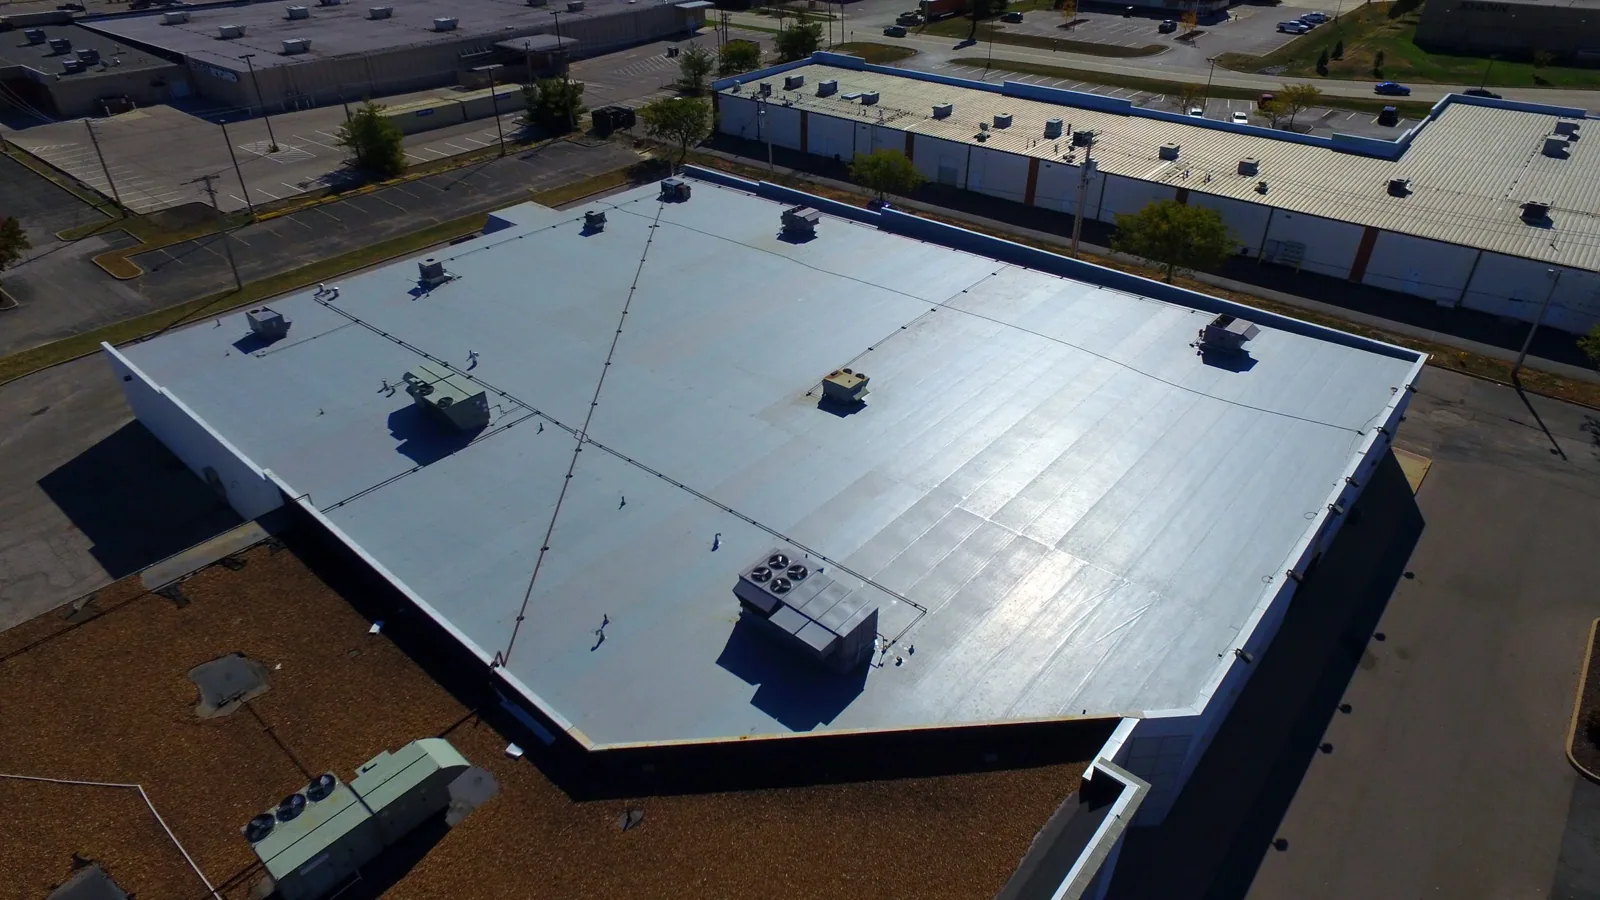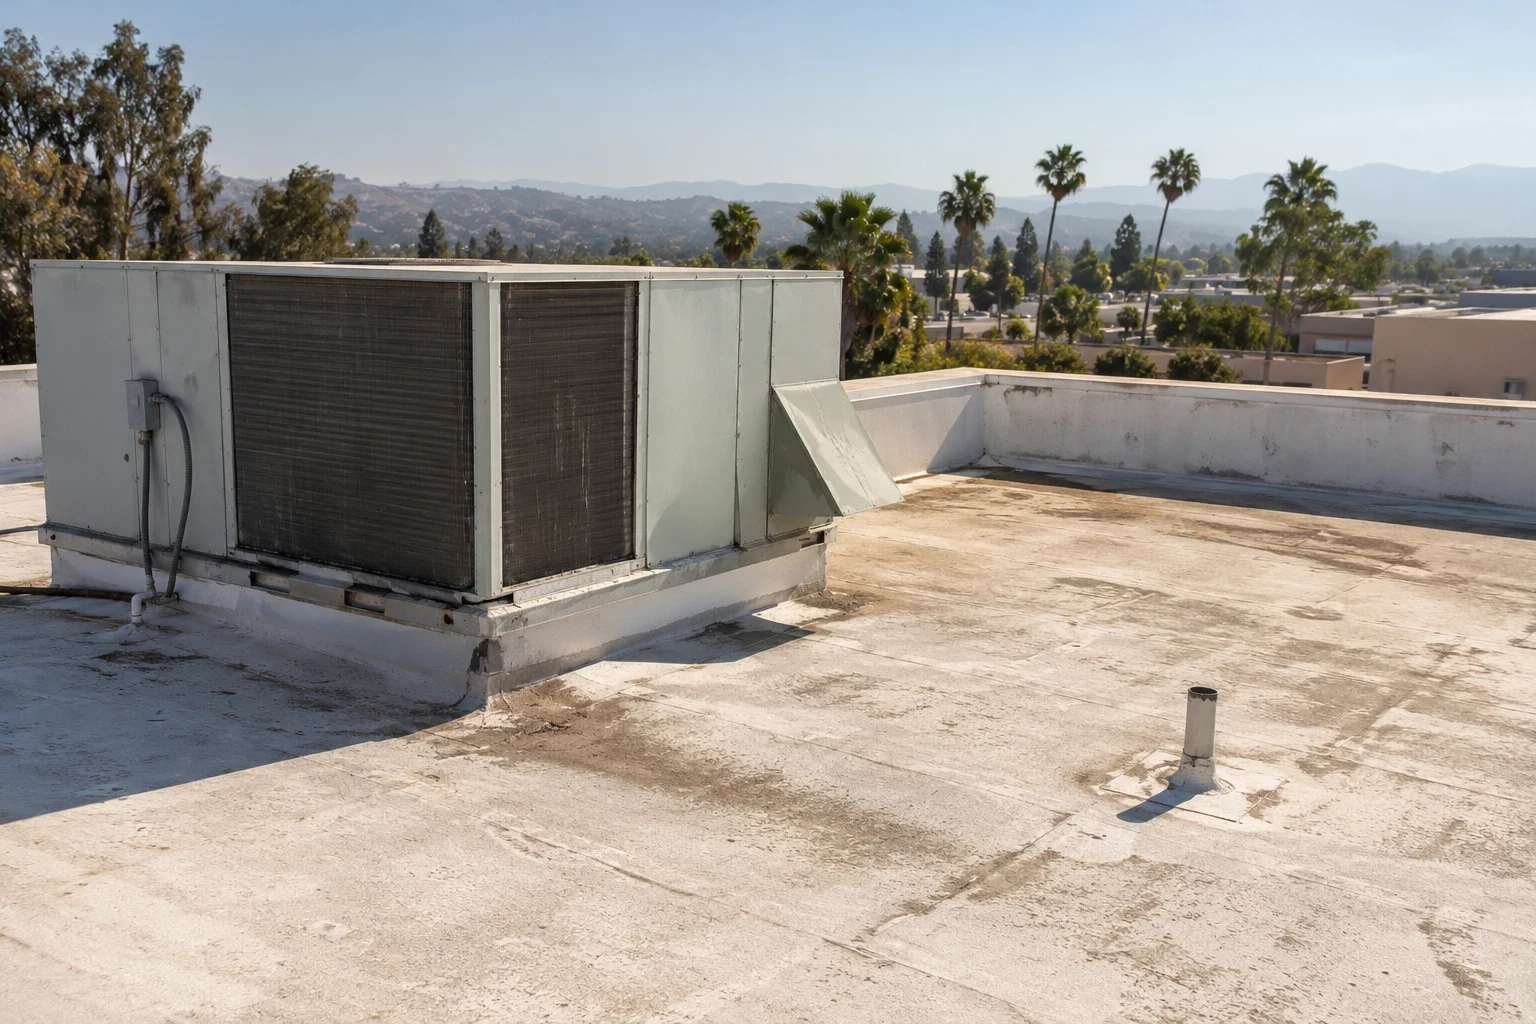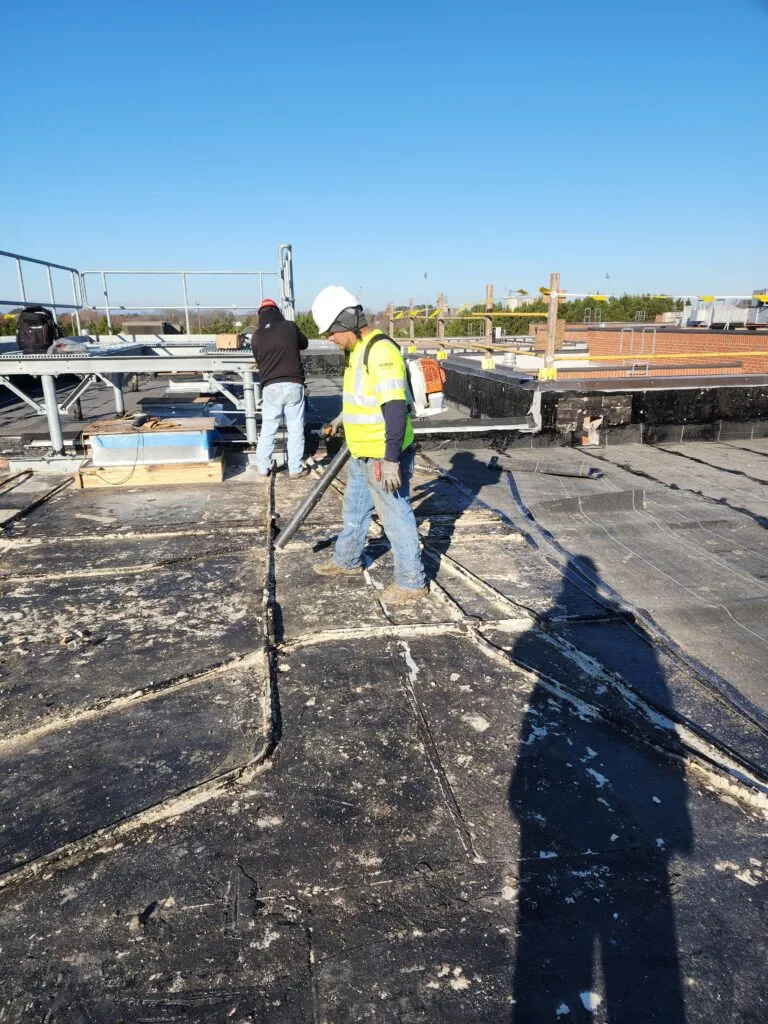
A roof leak above a clinical area is an operations issue as well as a building-maintenance item. Before any repair starts, the facility team needs to identify the affected room, the roof zone above it, air-handling equipment nearby, and the access or shutdown rules that apply. We document the visible condition and set the work boundary with the facility contact, keeping confirmed roof defects separate from the path that still needs testing. That record helps a healthcare system decide what can proceed now and what requires coordination with clinical operations.
Simi Valley contains different commercial settings, including the broad West End Specific Plan area and established commercial streets such as the Los Angeles Avenue corridor. Those place names help organize a facility list; they do not tell a roofer which roof assembly or patient-care constraints exist at a particular address. A commercial roof inspection begins with the building-specific access plan, current reports, and authorized contact.
Agree on access and operating limits
Set an access plan before a crew arrives. Identify the escort, roof hatch or ladder point, permitted hours, secured zones, delivery route, and any rooms that must remain undisturbed. The facility representative should decide whether a corridor, treatment area, loading point, or service entrance can be used. Ask who approves movement near sensitive equipment and whether a maintenance window is needed before work around a rooftop unit. Put those decisions into the scope so an estimator does not infer operating permission from a roof plan.
Roof access can be separated from interior access. If the inspection is visual from the roof, state whether ceiling access or a moisture survey is excluded. If an interior observation is necessary, have the site contact identify the room and escort. A property manager’s access record may help with keys and contacts, but clinical restrictions should come from the facility team responsible for the affected area.
For a multi-building system, use the same intake fields across locations while documenting each site's own constraints. Record date, weather, accessible zones, blocked views, and the person who confirmed the work window. If a scheduled visit changes, note the new limit rather than carrying forward an earlier permission that may no longer apply.
Trace the water path without guessing
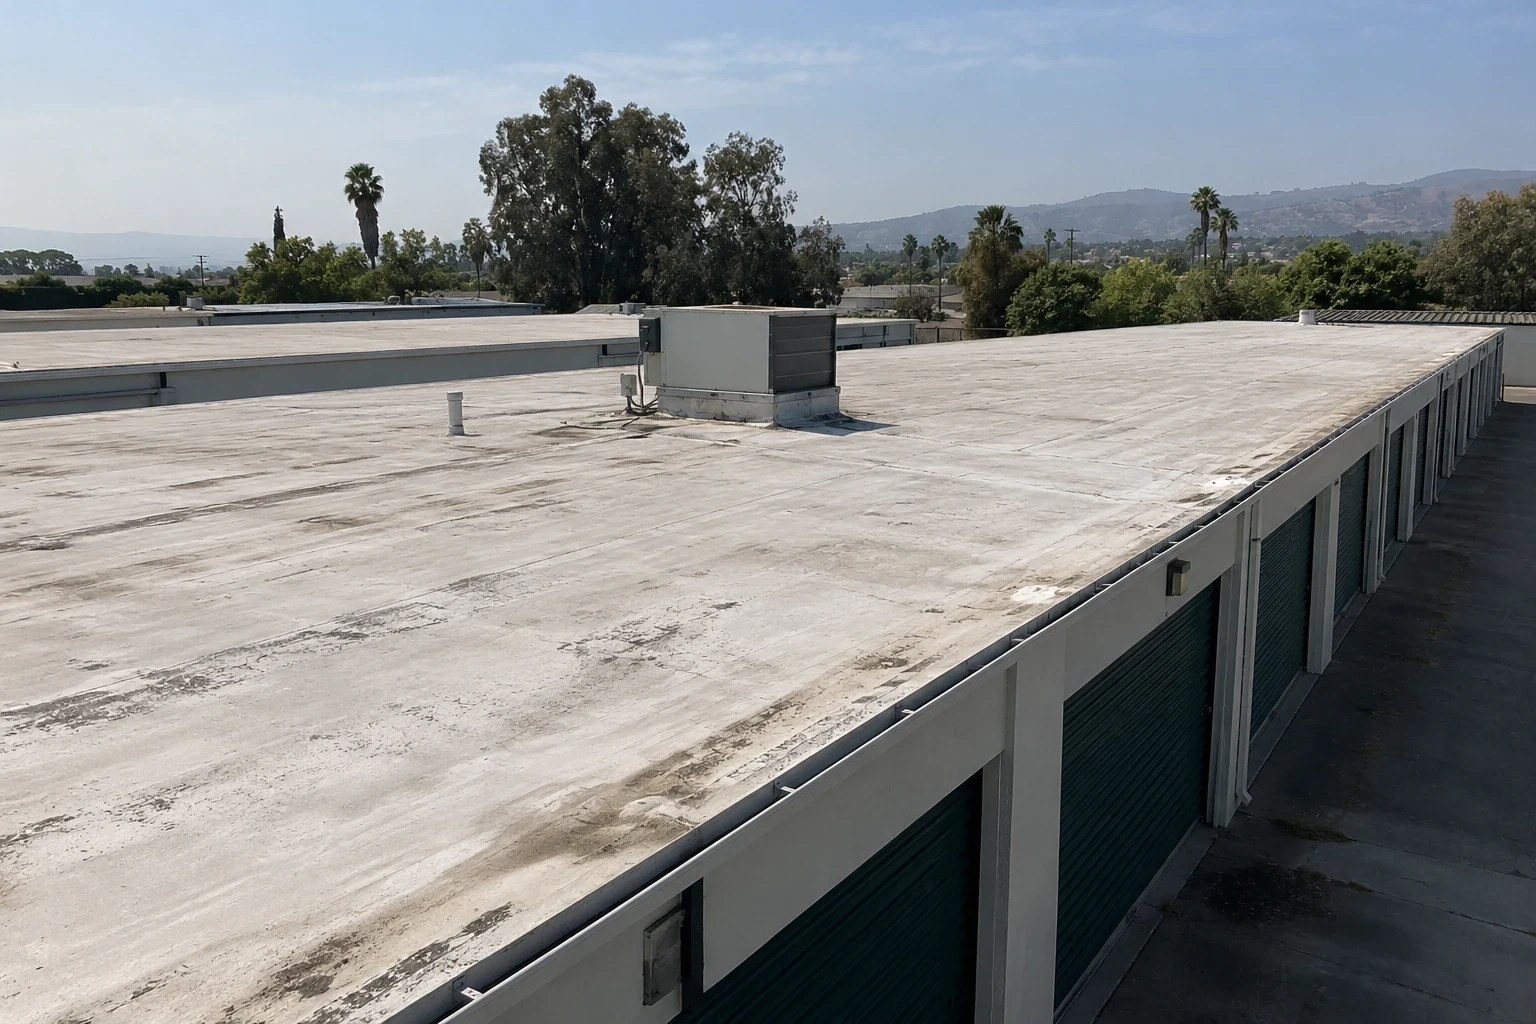
Start with what the occupant reports: when water appeared, whether it is continuing, what is wet, and whether the area has been isolated. Locate the roof zone above the report, then examine plausible entry points such as a seam, penetration, curb, drain, wall transition, or previous repair. Water can move laterally through roof layers before appearing inside, so the ceiling stain is a location clue, not proof of the opening.
Protect the interior only within the facility’s directions. Keep temporary containment and dry-in distinct from the permanent repair plan. If a roof opening, moisture scan, or test cut would change the proposed scope, identify who authorizes it and how the area will be secured afterward. Where the source remains uncertain, write down the competing paths and recommend the next observation that could distinguish them instead of widening the repair indiscriminately.
A roof emergency response can define immediate protection and a safe closeout limit. A commercial leak repair should then state the confirmed defect, preparation, materials, tie-in boundary, and any conditions that would require additional authorization.