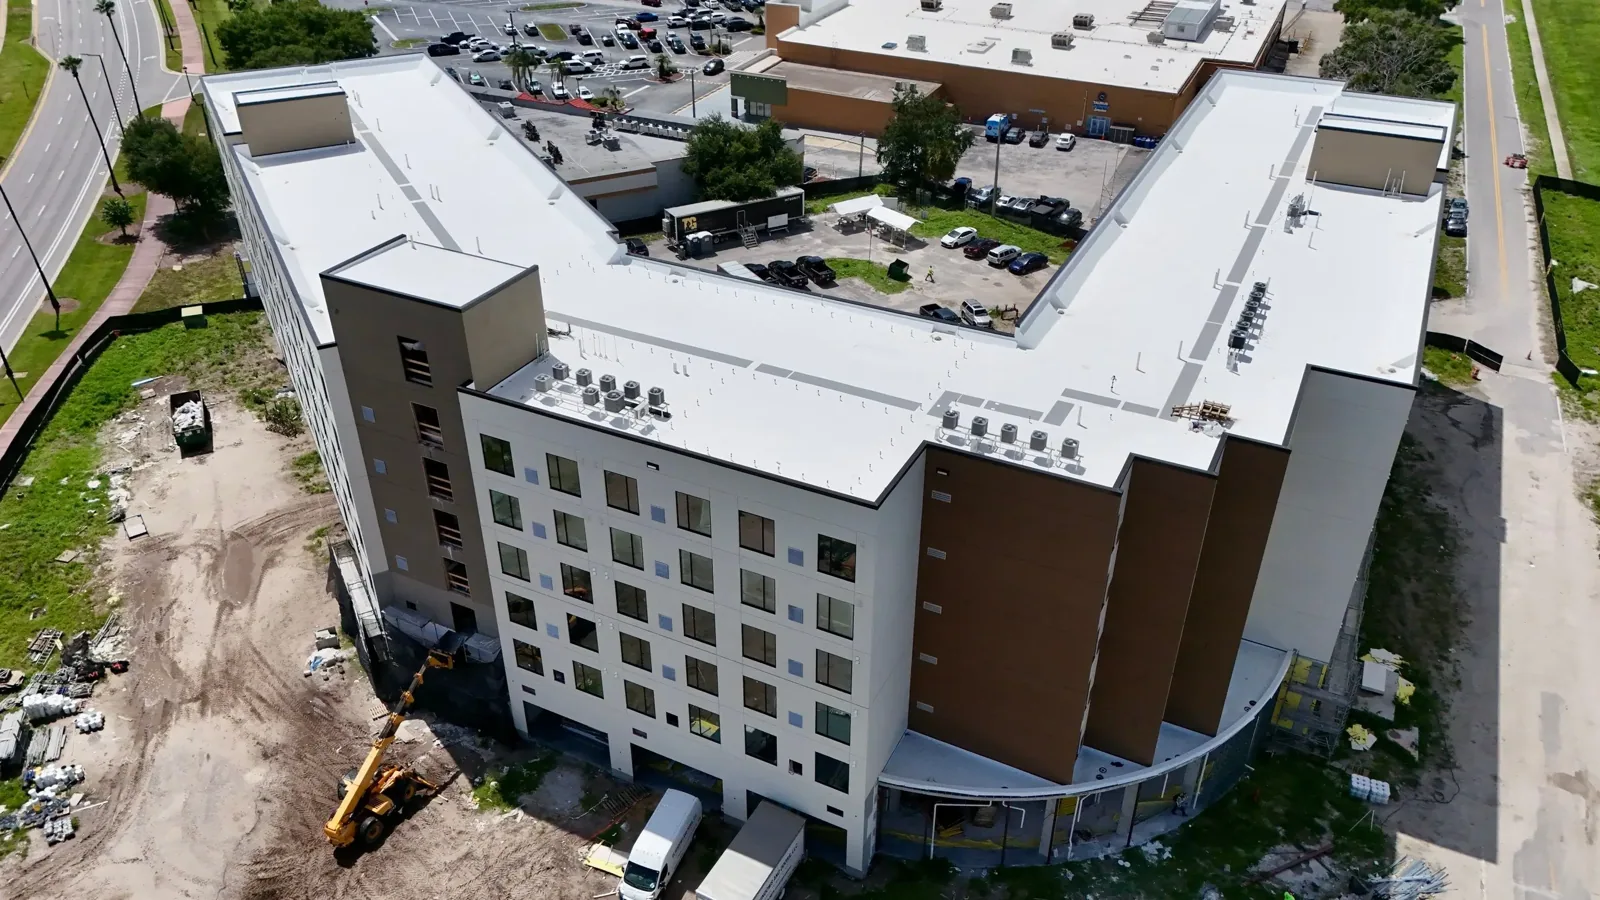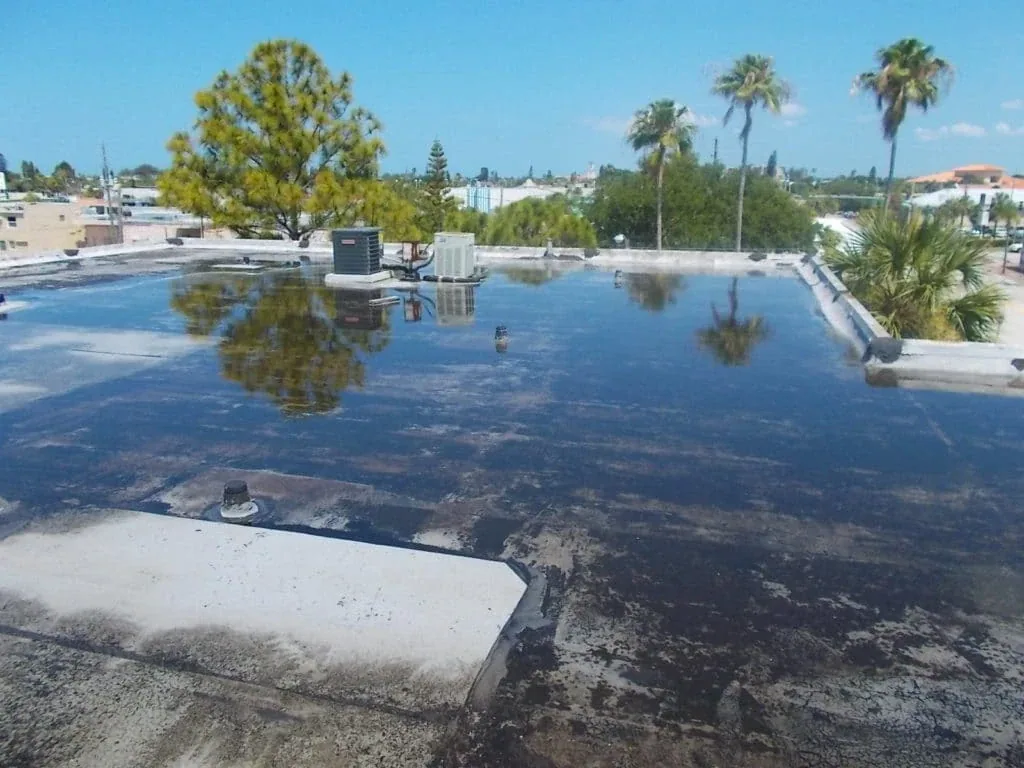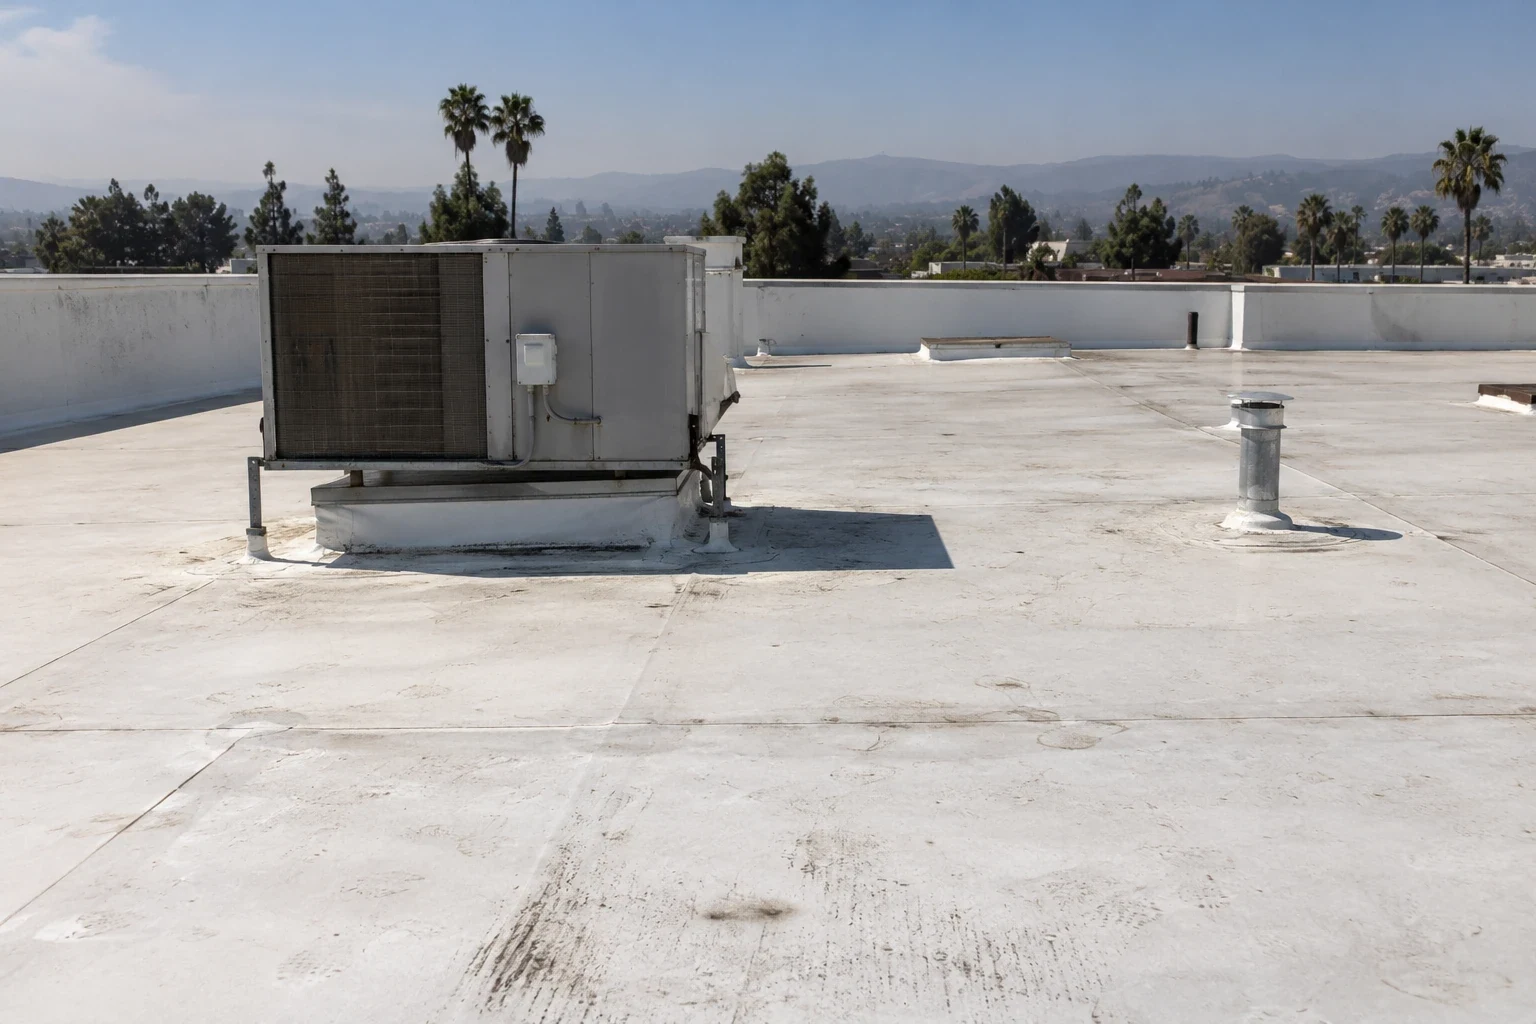
A roof repair should answer two questions: what failed, and what does the proposed work actually correct? A stain, loose edge, open seam, or puncture is an observation. The repair plan needs to trace that observation to a roof location, confirm the affected materials, and define a boundary that can be inspected after the work. Simi Valley’s building mix includes light industrial, office, research, and development uses, so access, rooftop equipment, and the area below a defect may vary significantly from one property to another. Start with a marked location and condition record, then compare repair with a broader evaluation if evidence extends beyond one detail. A commercial roof inspection can help distinguish a discrete defect from a recurring assembly problem.
Describe the failure before prescribing a patch
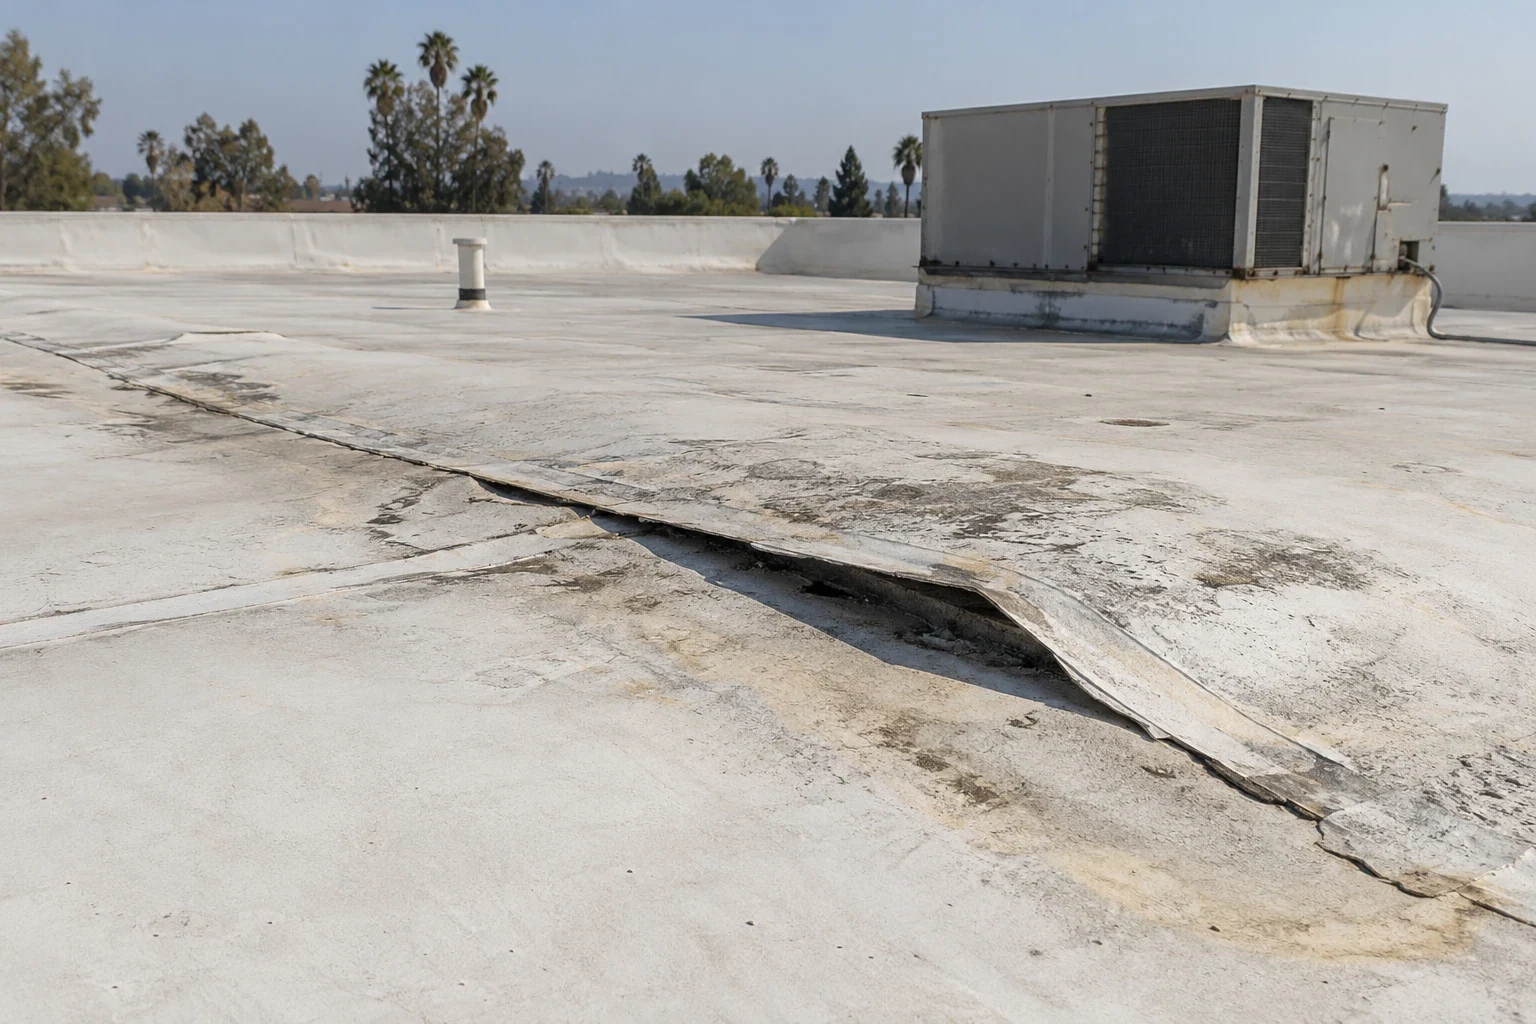
Begin with the roof plan or a simple sketch that identifies the elevation, grid reference, nearby equipment, and interior symptom if one exists. Photograph the condition from a distance and close enough to show the affected seam, flashing, fastener, membrane, or metal. Record whether the material is wet, displaced, cracked, punctured, or simply aged. These details help a second reviewer understand the recommendation without relying on a vague label such as “roof leak.”
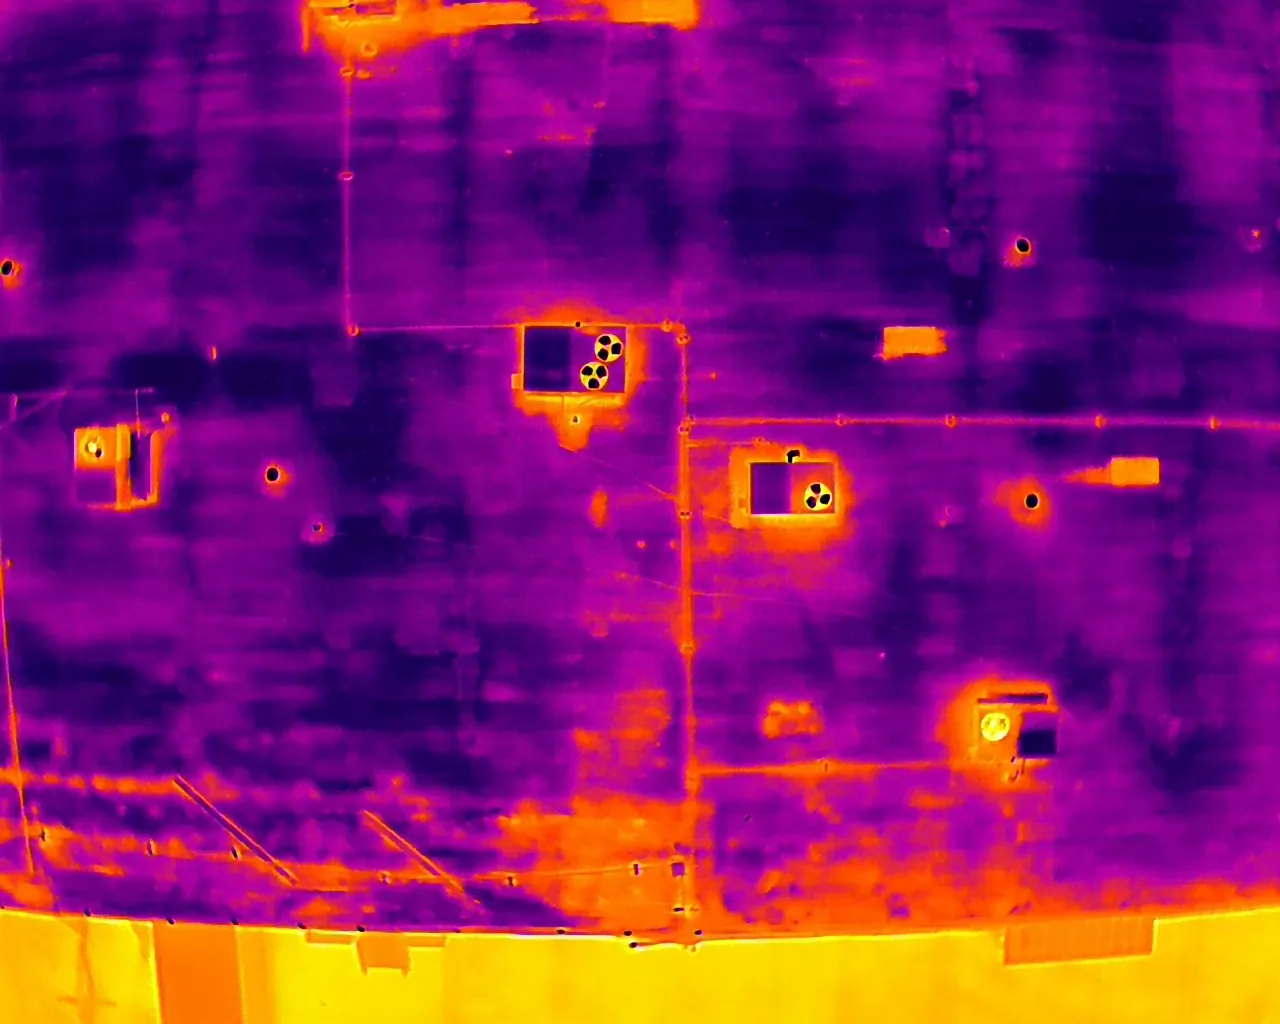
Trace water paths carefully. Water can travel laterally within an assembly or along structural members before appearing indoors, so the visible ceiling mark may not sit directly below the entry. Note recent rain or maintenance only when the owner can verify it, and avoid concluding that one event caused a condition without supporting evidence. A repair proposal should separate confirmed findings from suspected paths and identify any opening or test needed to resolve uncertainty. If moisture may extend beyond the visible damage, a targeted infrared moisture survey can inform where verification should focus, subject to suitable conditions and follow-up confirmation.
Set a repair boundary that can be checked
The work description should state where the repair begins and ends, which existing materials will be removed, what substrate will be checked, and how replacement materials will tie into sound construction. Include preparation requirements, compatible products, seam or flashing details, fastener treatment, and cleanup. A phrase like “seal the leak” leaves too much unanswered because it does not identify the failed detail or the limits of the work.
For a seam defect, identify the seam run and verify the adjacent membrane rather than stopping at the most obvious opening. A seam-failure repair review can help structure that distinction. At a wall, curb, pipe, or other penetration, show the termination and any counterflashing or support detail included. If the repair reaches a drain or scupper, specify how water will move after the work and whether the assembly connection is part of the scope. The objective is a repair that can be inspected against written requirements, not a broad promise based on a single photograph.