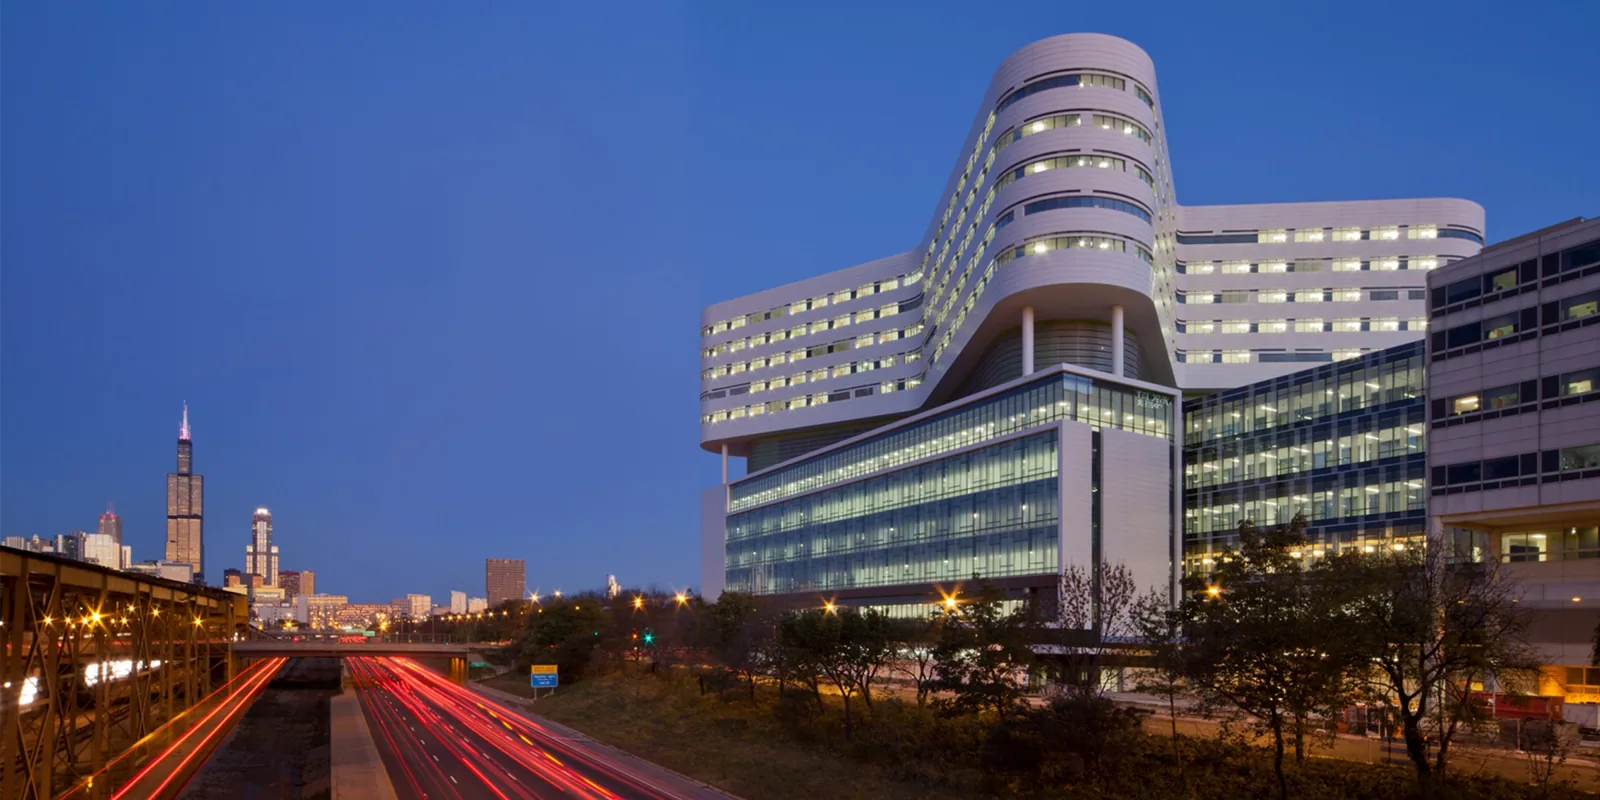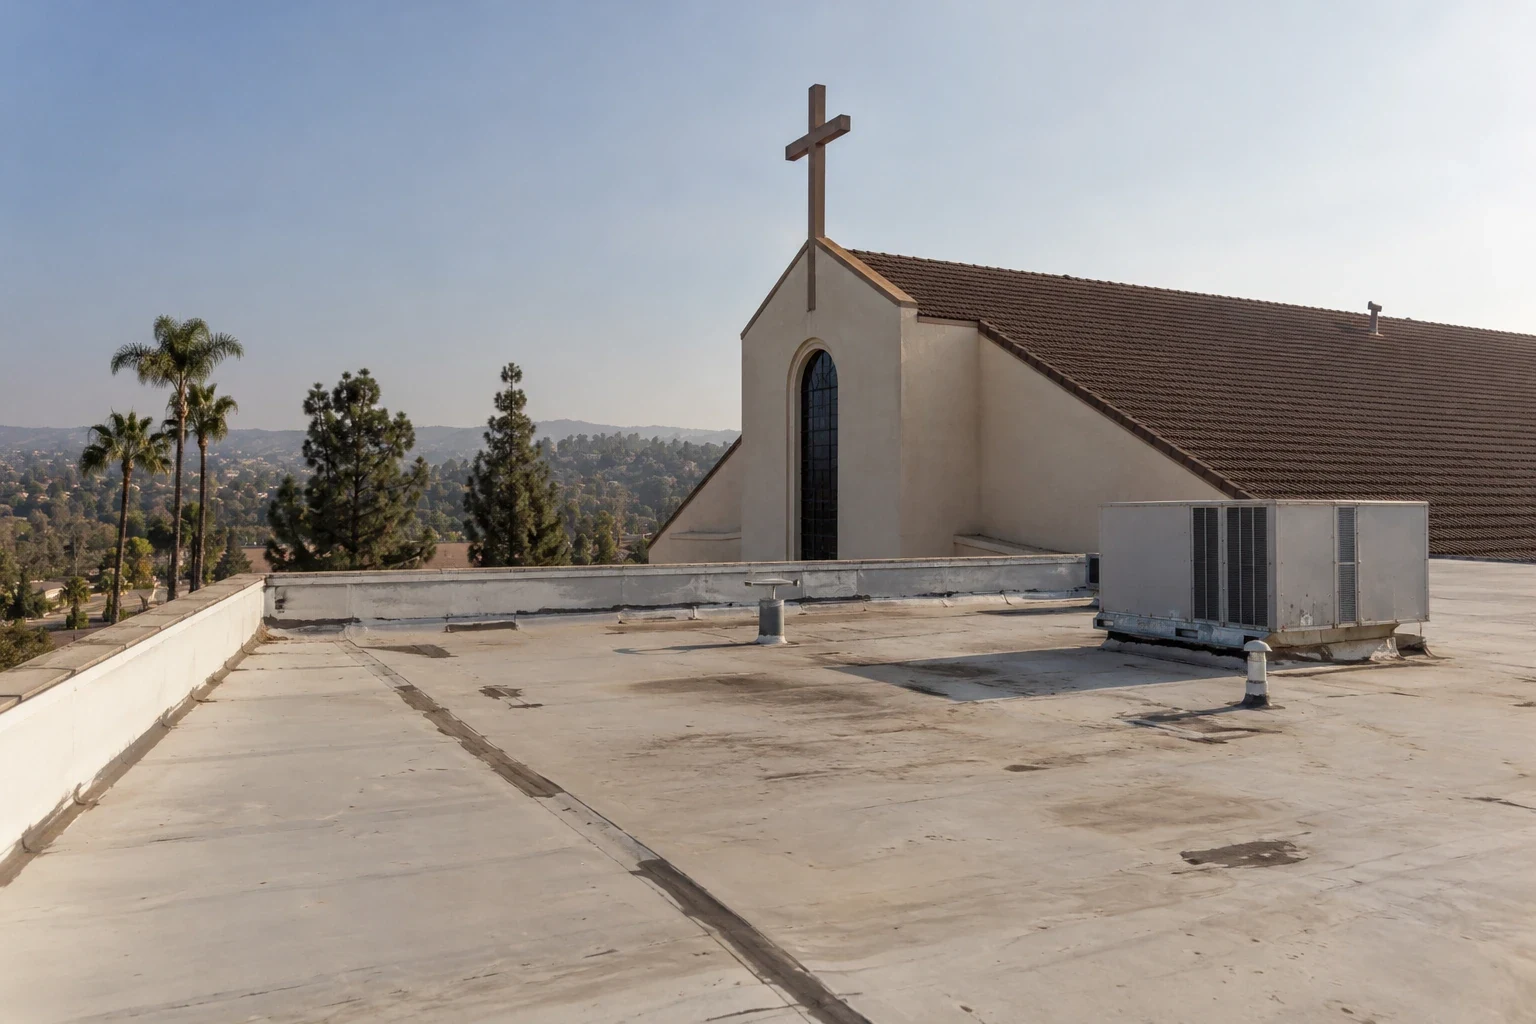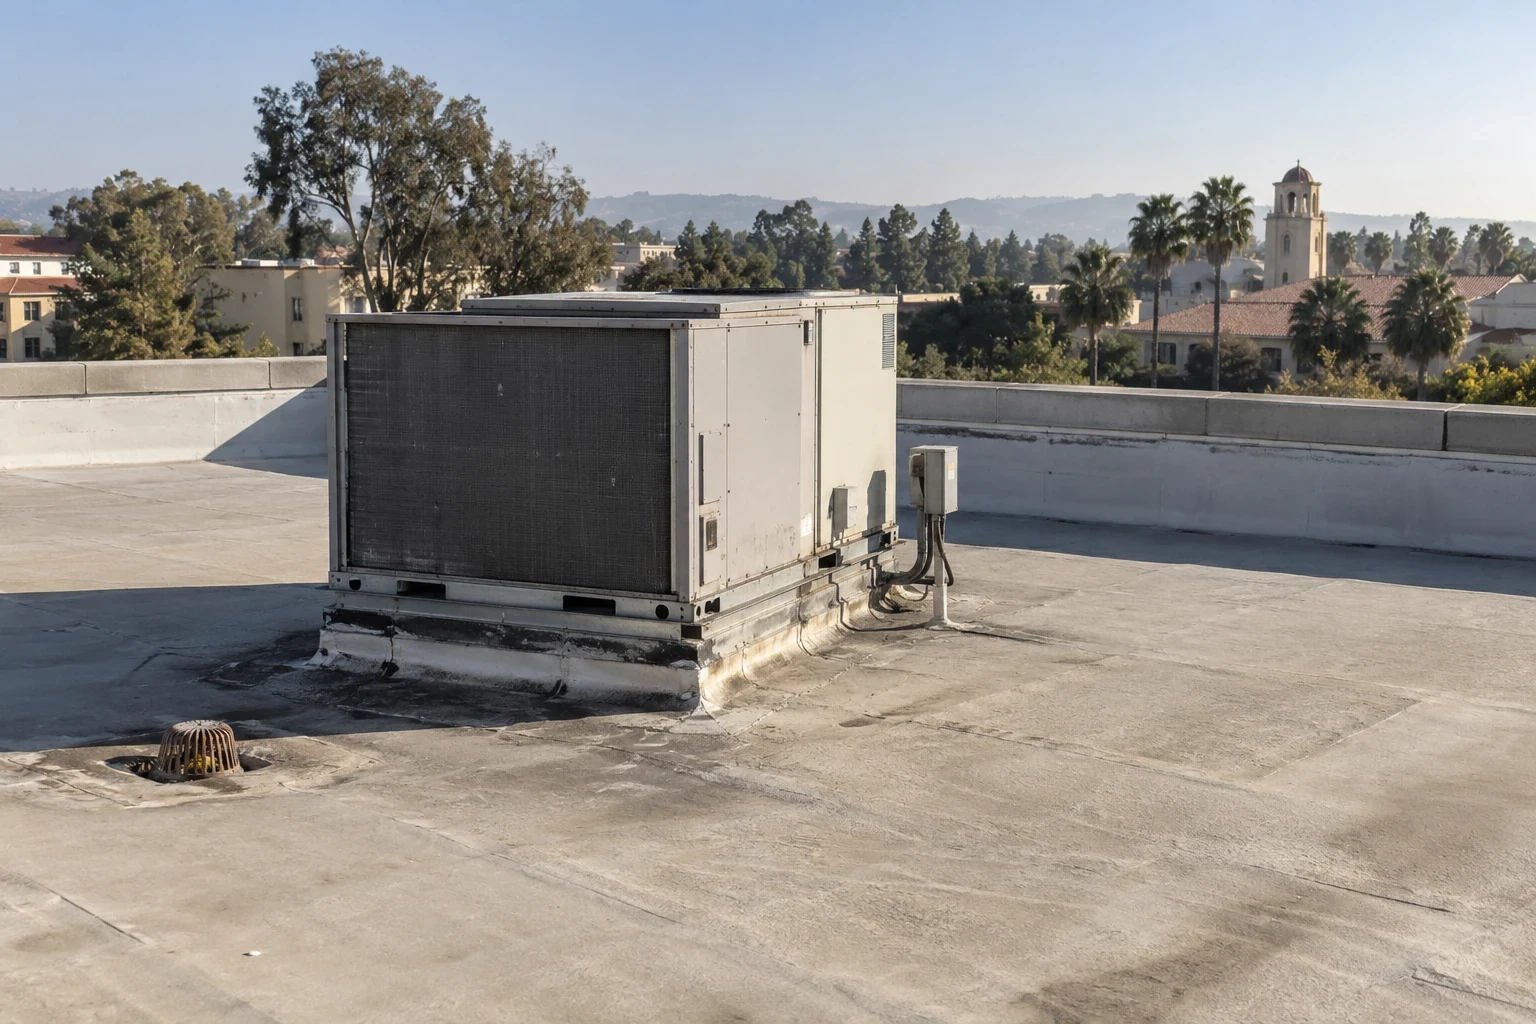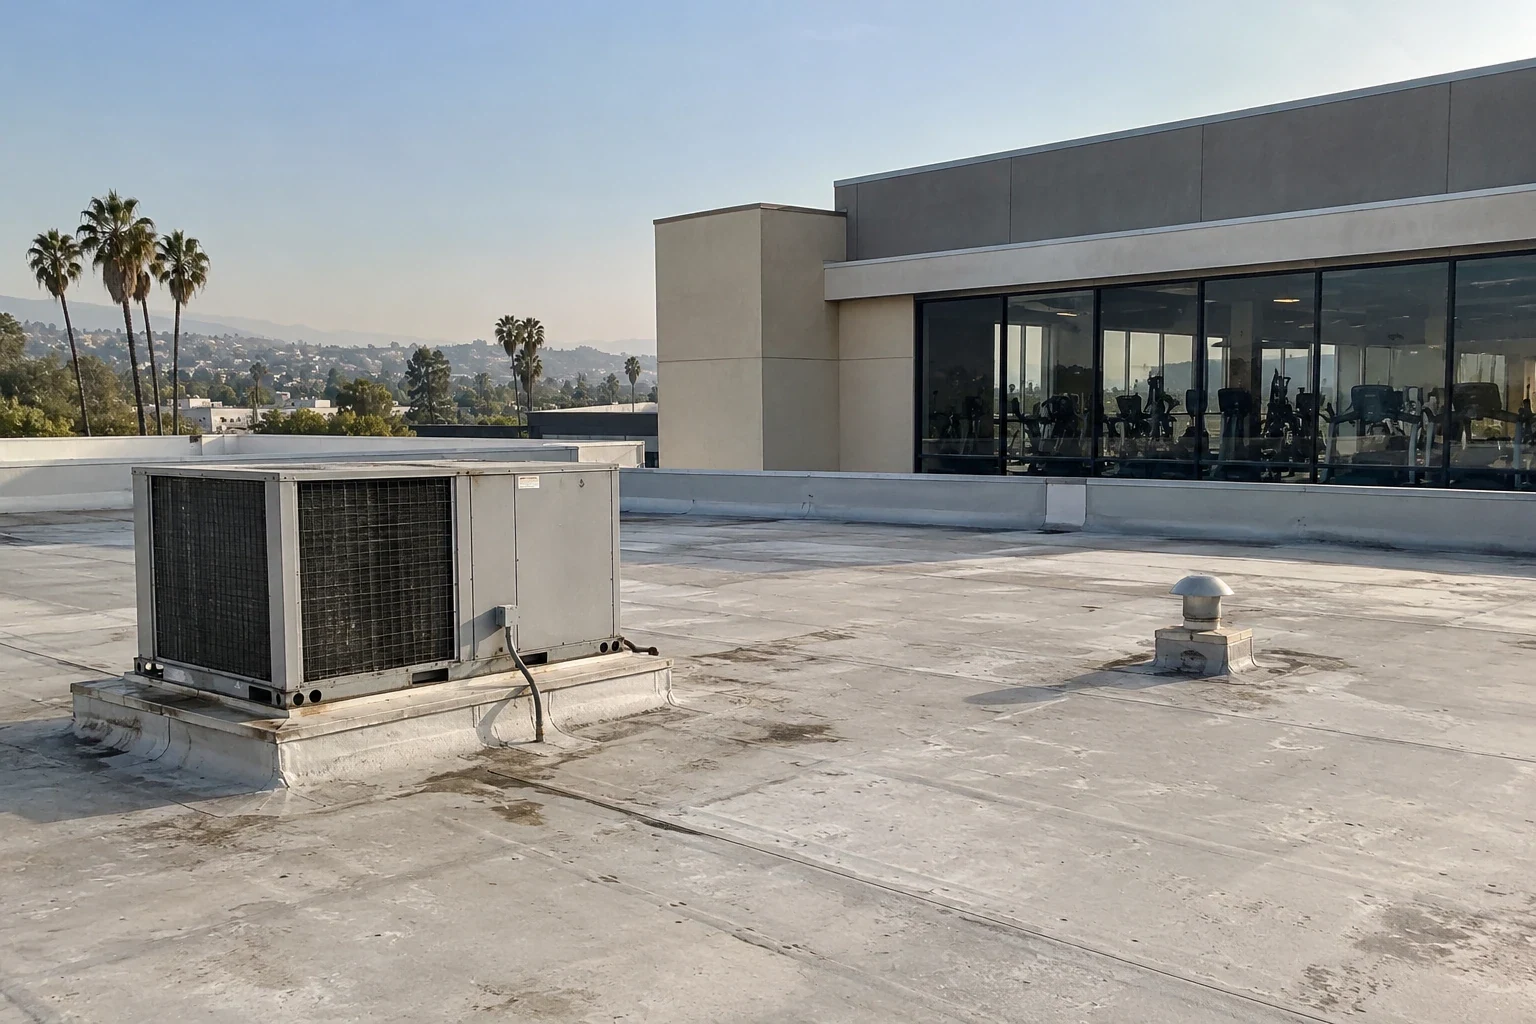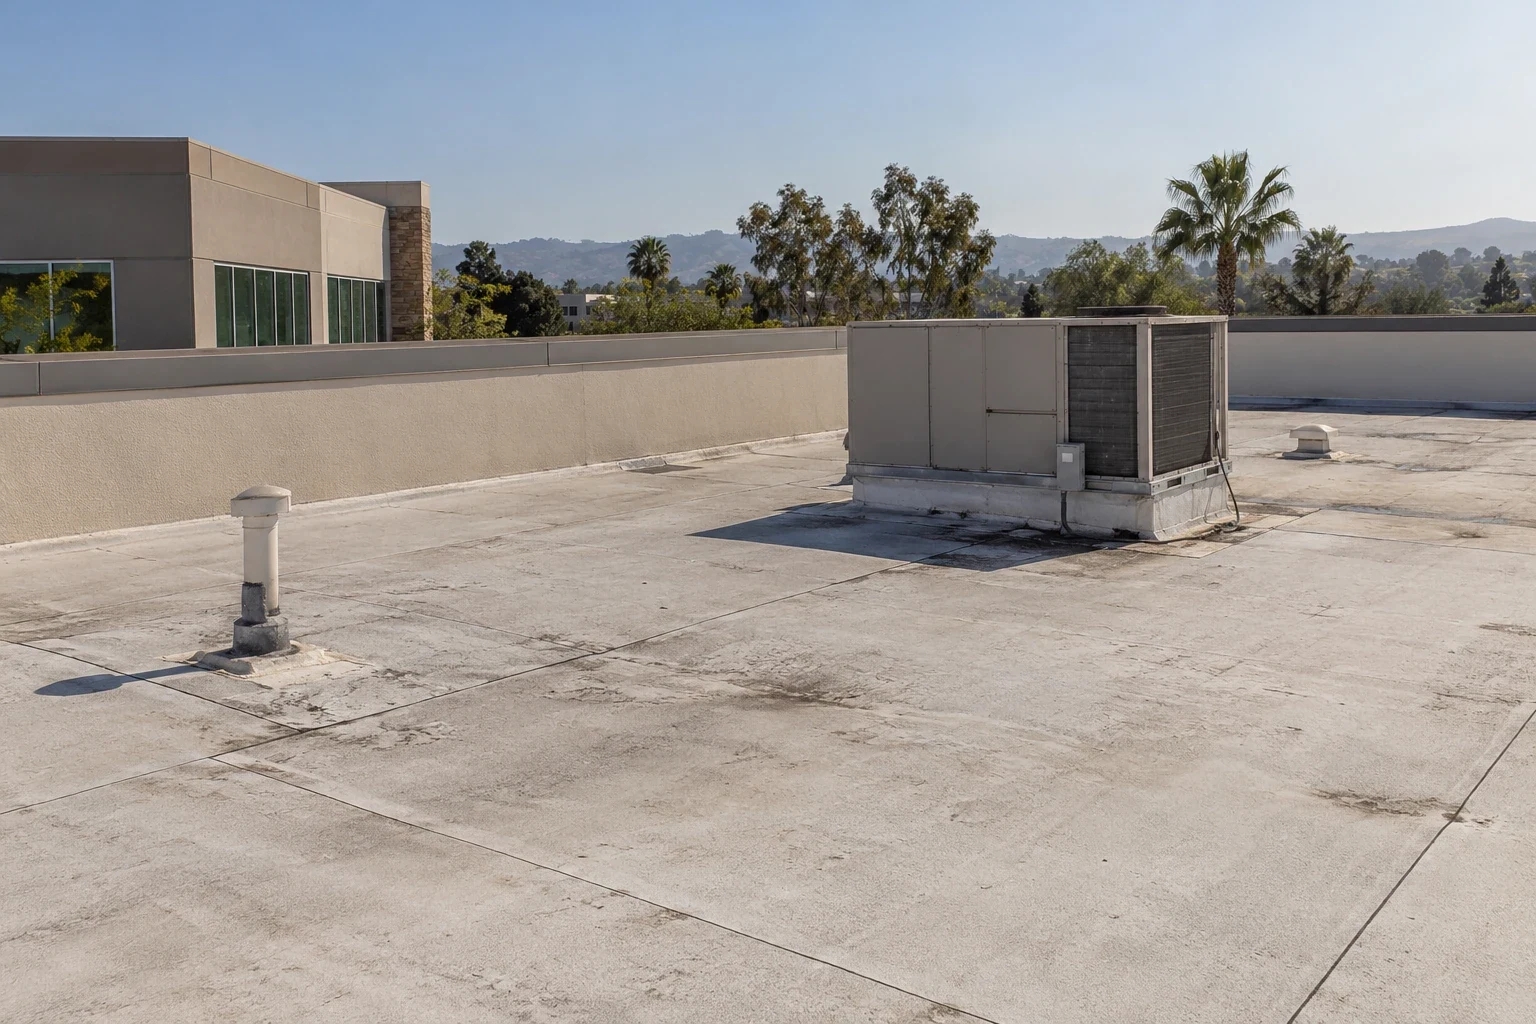
A roof leak above an occupied care area is a building issue with an operational boundary. We first connect the reported room to the roof zone above it, then check the membrane, drains, curbs, and transitions that could carry water toward that space. At a hospital, the inspection plan also needs a contact for access, an agreed work window, and clear limits on interior protection. Those details shape how we investigate; they do not prove the leak source.
Simi Valley planning documents describe light-industrial activity in the West End Specific Plan area and office or high-technology industrial uses among some Tapo Canyon business-park buildings. Those facts provide regional context, not evidence of a particular hospital or roof assembly. We assess the building in front of us and document the observed condition in a commercial roof inspection record.
Set the inspection boundary with the facility
Before anyone enters the roof, the facility identifies the building contact, escort requirements, restricted zones, and the person authorized to approve a test opening. We ask which department reported the symptom, when it appeared, and whether the area has active equipment or patient-care restrictions. This gives the team a defined route and avoids treating an entire building as an open work area.
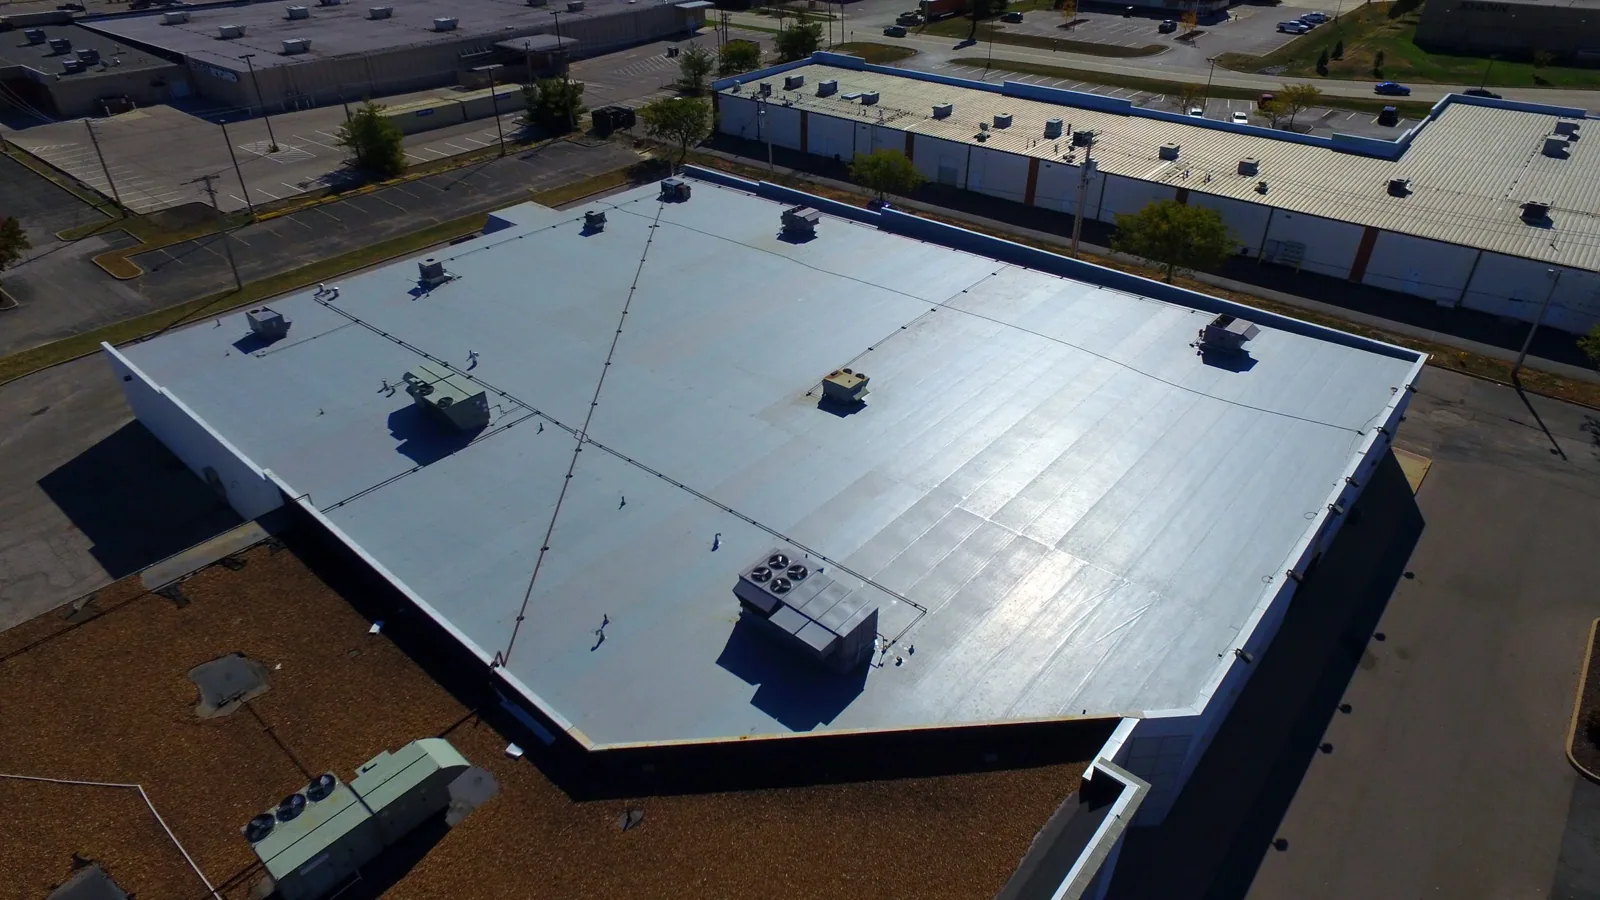
We map the interior report to a roof plan or field sketch when available. The apparent ceiling location may sit several bays away from the actual entry point because water can move along a deck joint, insulation interface, or structural member. A simple location record pairs the room or corridor with the roof grid, slope, drain, and nearby curb. It remains an observation map until the assembly is inspected.
For multi-wing facilities, each wing and roof level needs its own access note. We record stairs, ladders, fall-protection provisions, equipment clearances, and any route that must stay open for facility operations. The written plan also establishes where tools and removed materials may be staged, who receives a daily update, and how the crew will close the roof before leaving. Clear boundaries reduce interruptions and make any requested scope change reviewable.
Trace water before opening the roof
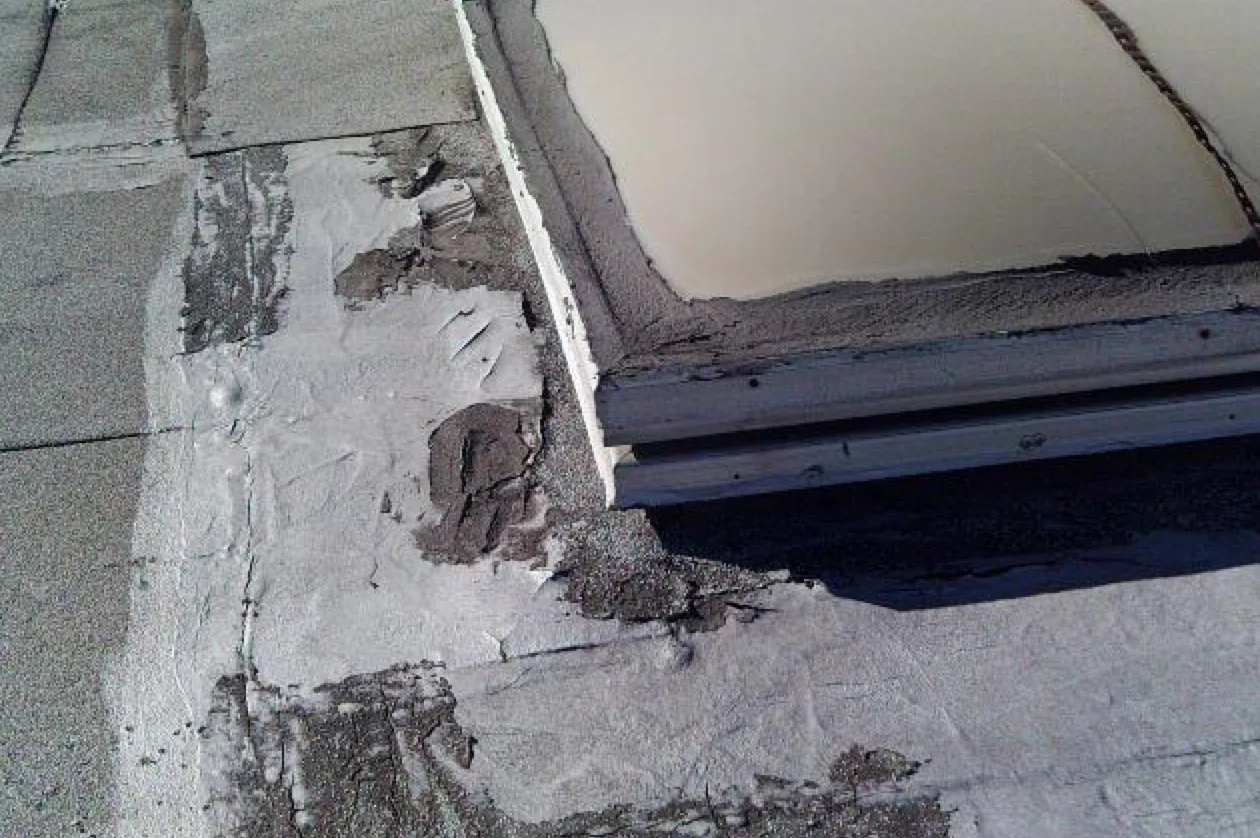
Interior stains, damp insulation, and rooftop ponding can point to different conditions. We inspect slopes, drains, scuppers, seams, penetrations, and perimeter details, then compare those observations with the reported timing and location. A blocked drain may hold water near a seam, while a failed curb detail can admit water that travels before appearing inside. Neither symptom alone establishes the repair boundary.
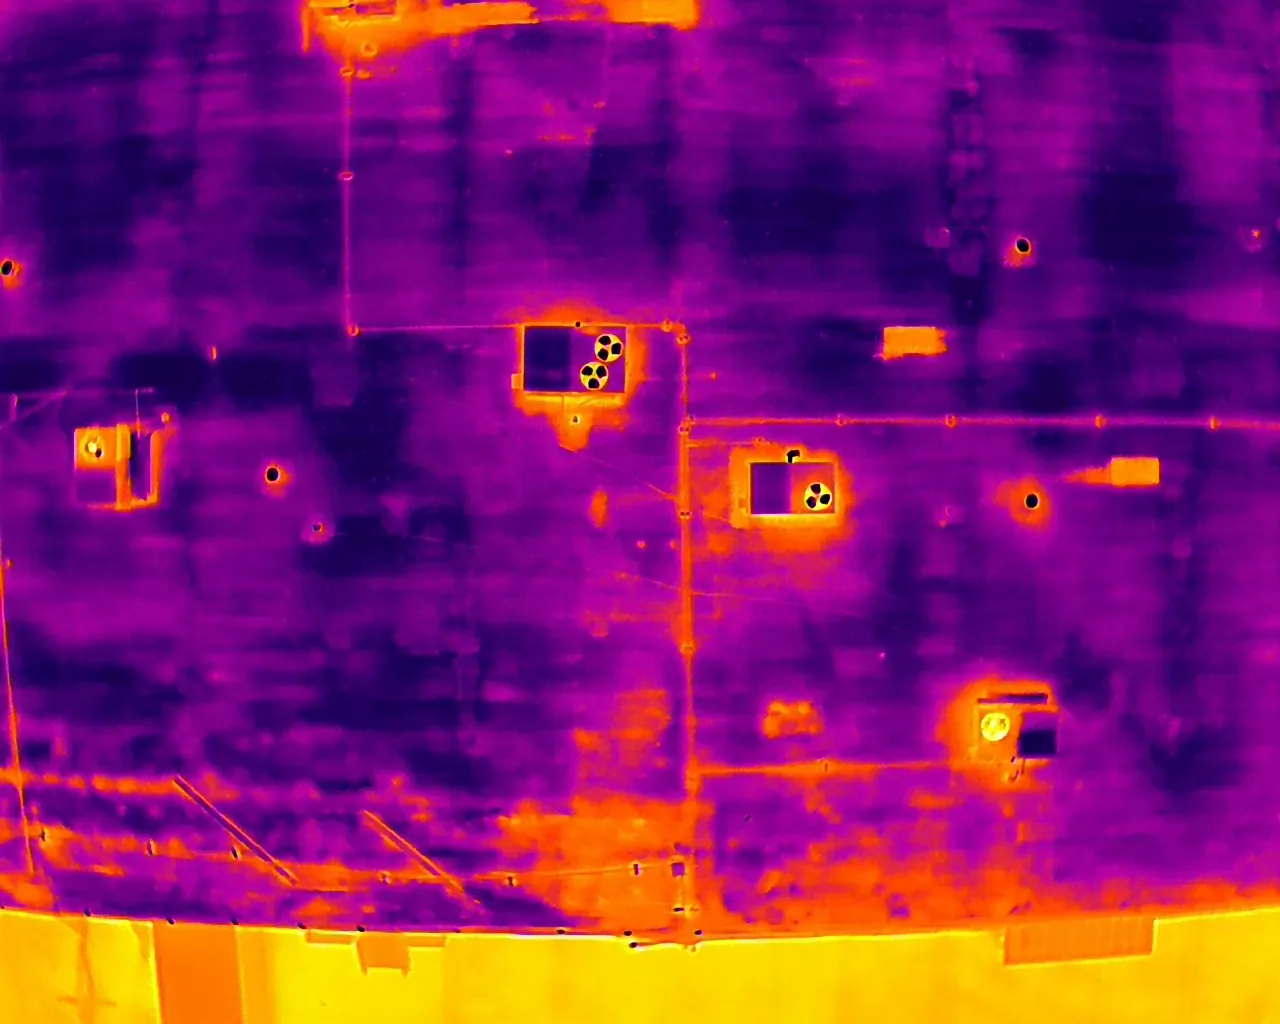
Where appropriate, a moisture survey can identify temperature patterns that help prioritize locations for direct examination. The scan does not confirm wet insulation or identify a leak path on its own. We compare it with roof construction, recent weather, interior conditions, and visible details. If the repair decision depends on material condition, a controlled opening shows the layers directly.
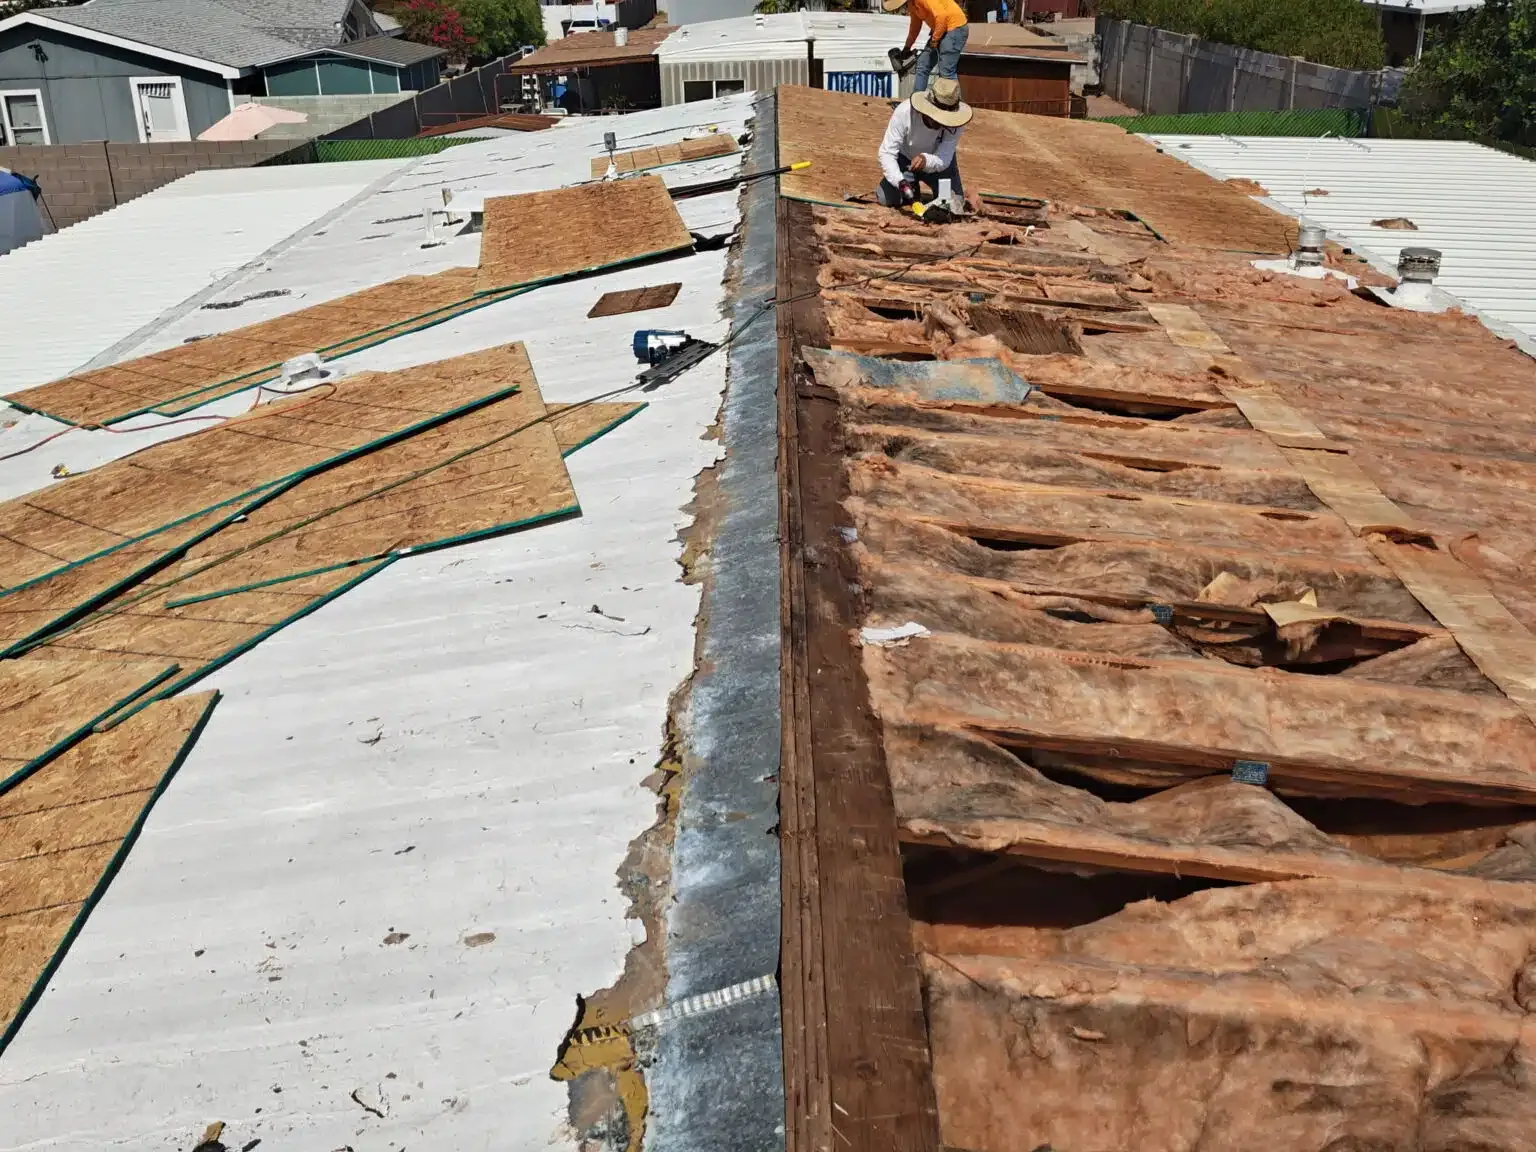
We agree on opening size, interior protection, and a same-day dry-in plan before testing. Once membrane, insulation, cover board, and deck are visible, photographs and notes establish what is present. If concealed damage extends beyond the first opening, we pause at a stable boundary and present the finding to the authorized contact. No larger removal proceeds until that person approves the revised quantity and closeout sequence.